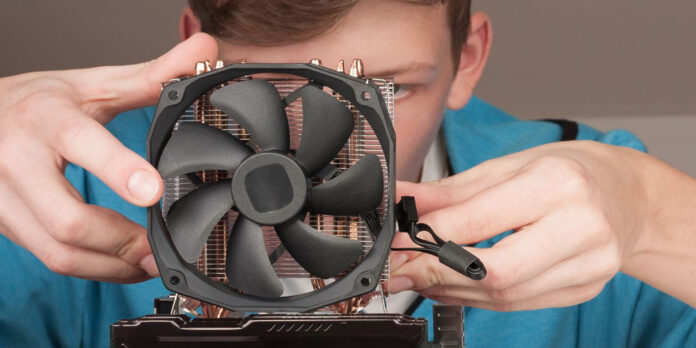
Whenever we feel strange behavior in our computer system like its processing goes down and it starts getting heated up very easily. Then there is a great chance that the CPU heat sink is disturbed and required cleaning so that the dust and debris can be removed.
But it’s not easy to play with the entire system of computers, therefore, complete knowledge is required to clean the computer heat sink. Today, we are here with complete guidelines about cleaning a computer’s heating easily. Hope it will be effective for you.
Clean you’re CPU Heatsink Now!
Cleaning a CPU heat sink is no doubt a very difficult task as even a small mistake can lead to a serious problem. Hence, we are here with a complete guide about each step you have to take to clean the CPU heatsink thoroughly so that all the dust can be removed. These steps along with their details are given below:
Shut Down the Computer
First of all, you have to shut down your computer and then disconnect all the peripherals like monitor cable power called and other cables. Now you have to remove the screws that connect the cover and the case access panel with the case chassis. Put both of the components at the side.
Removal of Screws
There will be screws that connect the graphics card bracket to the computer case’s rear wall, remove these screws. Now to remove the bracket from the socket you have to lift the bracket up and then push it inwardly at the base of the card.
Reveal Heat Sink
Now after removing the screws that connect with the heat sink cover, reveal the heat sink. For viewing the rear, you have to flip the graphic card over. Now remove the heat sink from the card and GPU by removing the screws.
Disconnect Power Connector
Now it’s time to disconnect the power connector from the graphics card. Here, you will need a screwdriver with having flat head so that the heat sink can be prayed away from the chip carefully. Sometimes there is a thermal plate on the rare, you also have to remove it using the same screwdriver.
Wiping Of Surface
Now take a cloth and wet it with some alcohol so that dirt can be removed from the chip’s surface. Make sure you clean the entire surface carefully.
Clean Cooling Fan
Now it’s time to clean the cooling fan but first remove them by getting rid of the screws connecting them with a heat sink. Using compressed air can, you have to remove dust from the cooling fan. The blades of the fan need to be cleaned using alcohol-dipped cotton swabs as canned air cannot remove dust from the fan.
Clean Metal Fins
After cleaning the cooling fan, you have to remove the dust from the metal fins of the heat sink using alcohol dipped cotton swab.
GPU Chip
After this, a few drops of the thermal compound should be applied to the GPU chip’s center area. For spreading the compound in the layers of the chip you can use a little piece of plastic or even your finger. Make sure the solder trace will remain away from contact with the thermal compound.
Aligning Heat Sink
At the top of the chip, align the heat sink. Then you have to press the rear thermal shield and heat sink downward. Press them until they are fixed and don’t fall when you remove your fingers.
Replace Cooling Fan
Then, after securing the heatsink, replace the cooling fan at the top side and fix it by tightening the screws that you remove before.
Replace Cover
At the last, it’s time of replacing the cover. Then, take the computer to its previous position, connect all the cables, and let the system power on location.
Conclusion
No doubt, the performance of a computer will decrease until you fix the CPU heat sink. You can either replace it or clean it but if it is clogged then cleaning is the best Option. Although, this process also requires complete knowledge so that you don’t have to face any kind of issue after doing something wrong with your CPU.


